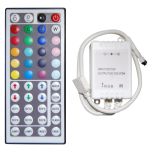
Note: The picture above shows LEDs 4 to 7VDC feed on pins and GND, and communication via DIN and DOUT follows: the rectangular pin DIN receives a signal from the Arduino. You can insert multiple LED modules by connecting DOUT to DIN terminal of the next module.
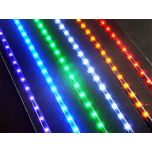
The LED Strip has RBG LEDs inside: red, blue, green. The first 8-bit green LEDs will command the 8 LED RBG, next 8 bits will command the red LEDs, and the last 8 bytes sent before the reset signal will control the blue LEDs. The easiest way to use LED strip is to use a library that already has implemented the functions for generating the necessary signals. PCB may be black or white.
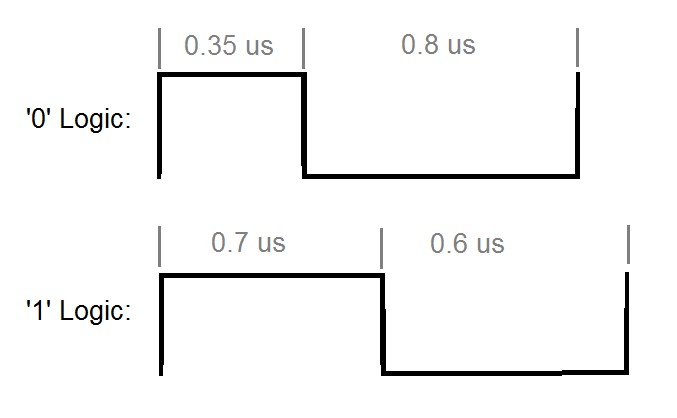
To understand how to interpret the data, track image: a signal logical one for us and logical value 0 0.35 for a period of 0.8 us will be interpreted as a bit with value 0. A signal with a logical one for us 0.7 and 0.6 logical 0 for us will be considered a bit of value 1. To control all the LEDs send 24-bit and a reset signal - a signal LOW for a period.
You can find more libraries of this type here:
http://cartearduino.ro/v1/link37.0
Zip archive download and install Arduino library. Blinky and fade_rgb run examples. Here's how to write a program using this library:
// announce that we use Arduino library:
#include <WS2812.h>
/ * Cream an object of type WS2812 - in brackets specified number of LEDs that we use (can be as usually a multiple of 8) * /
WS2812 LED (8);
// We select pin that will connect the LED pin DIN
LED.setOutput (outputPin); // Can be any digital pin
/ * CRGB is a structure containing 3 values between 0 and 255 to control the intensity of the 3 LED * /
cRGB wave; // I instantiated a variable of type cRGB and LEDs, giving a
val.b = 255; val.g = 0; val.r = 0; // Maximum intensity blue light
/ * Earlier WS2812 instantiated object type that contains 8 LEDs - use the method .set_crgb (i, val) to assign LED RGB value specified number of wave i * /
LED.set_crgb_at (i, wave );
// Changes are seen only after running .sync function ();
LED.sync ();
You can link multiple LED strips in series and build a matrix that can display messages or you can create lighting effects to give a pleasing aspect to your projects. You can have the LEDs respond to input data such as data read from a distance sensor.
Try constructing a display device type POV (Persistance Of Vision) using a motor to rotate multiple LEDs arranged in line. Turn LEDs on or off in motion and they will look like a circular display. Display text with the LEDs or display different images. Application project involves the control of several LED moving.


Validate your login
Sign In
Create New Account